
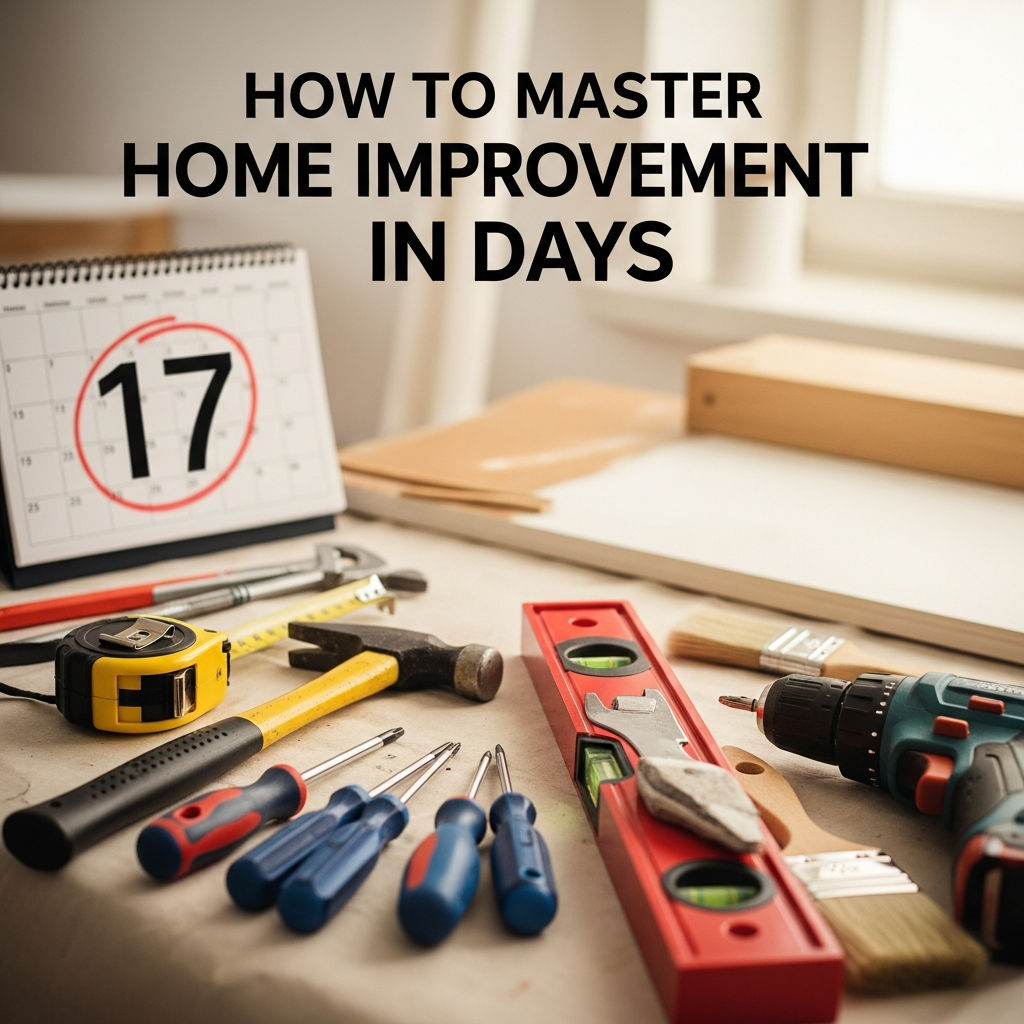
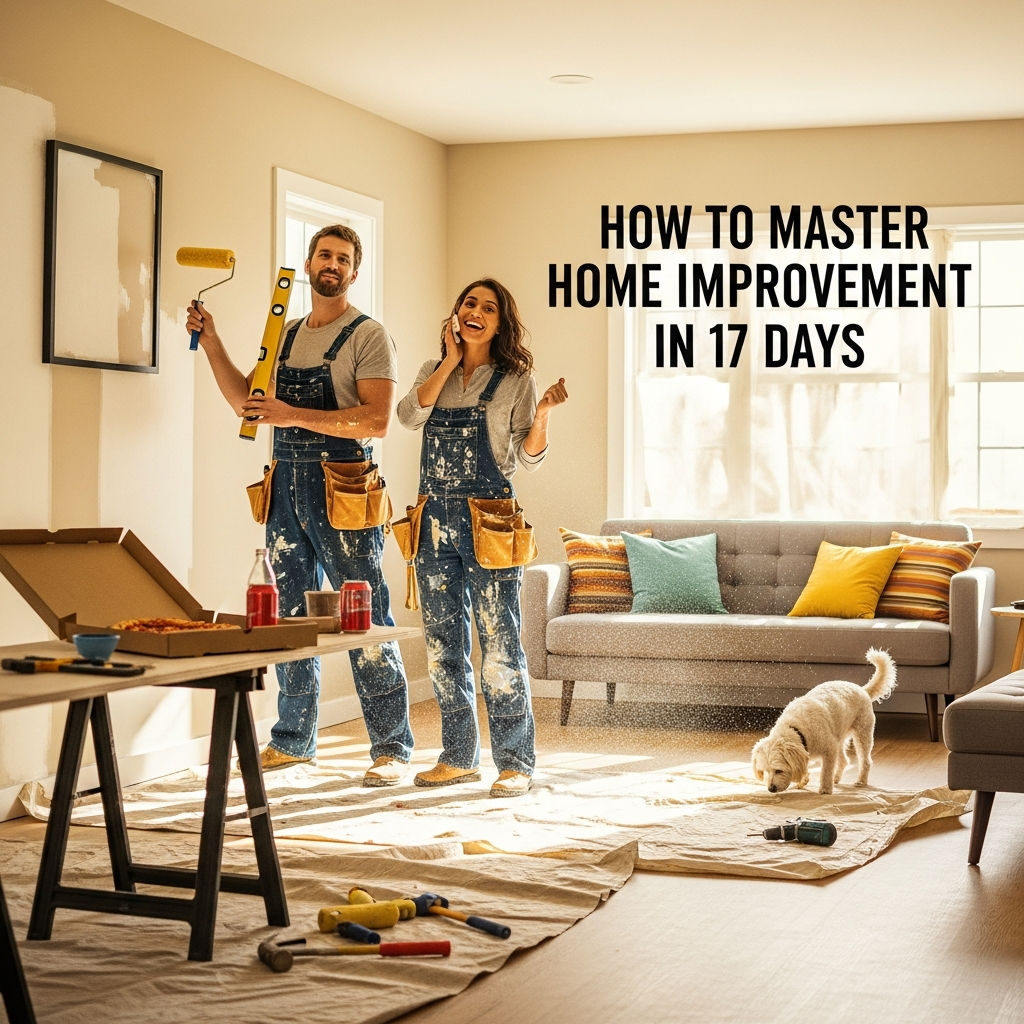
How to Master Home Improvement in 17 Days: The Ultimate DIY Roadmap
The dream of a perfect home often feels locked behind a paywall of expensive contractors and months of construction delays. However, what if you could bridge the gap between a DIY novice and a confident home improver in just over two weeks? While “mastery” is a lifelong journey, you can certainly master the fundamental skills, tools, and mindsets required to transform your living space in exactly 17 days.
This guide isn’t about rushing a kitchen remodel; it’s about an intensive, structured approach to learning the mechanics of your home. By following this 17-day roadmap, you will save thousands of dollars and gain the autonomy to fix, refresh, and renew your property on your own terms.
Phase 1: The Foundation of DIY (Days 1–3)
Day 1: The Tool Audit and Safety Essentials
You cannot build a masterpiece with the wrong tools. Spend your first day familiarizing yourself with the “Essential DIY Arsenal.” This includes a high-quality cordless drill, a level, a miter saw, and various hand tools like screwdrivers, pliers, and a utility knife. Most importantly, invest in Personal Protective Equipment (PPE). Mastery begins with safety—ear protection, safety goggles, and N95 masks are non-negotiable.
Day 2: The Art of Accurate Measurement
The old adage “measure twice, cut once” is the mantra of every master craftsman. On Day 2, practice measuring windows, floor space, and wall heights. Learn how to account for “reveal” and how to use a laser measure versus a traditional tape measure. Understanding the geometry of your home prevents costly material waste later on.
Day 3: Understanding Home Anatomy
Before you tear anything down, you must know what is behind the walls. Use Day 3 to learn about stud finding, identifying load-bearing walls versus partition walls, and locating your main shut-off valves for water and the circuit breaker for electricity. Knowing the “skeleton” of your house is the difference between a successful project and a disaster.
Phase 2: Surfaces and Aesthetics (Days 4–7)
Day 4: Professional Wall Preparation
A great paint job is 90% preparation. Learn how to patch holes with spackle, sand surfaces to a smooth finish, and apply painter’s tape like a pro. Mastering the use of a putty knife and sandpaper is a fundamental skill that separates amateurs from experts.
Day 5: Mastery of Paint and Finishes
Painting is the highest ROI home improvement task. Today, focus on “cutting in” (painting edges without tape) and understanding the different finishes—eggshell for living rooms, semi-gloss for trim, and satin for bathrooms. Learn how to load a roller correctly to avoid “holidays” or missed spots.
Day 6: Advanced Wall Treatments
Move beyond flat paint. Practice installing removable wallpaper (peel-and-stick) or learning the basics of board and batten. These architectural details add immense value and character to a home with relatively low material costs.
Day 7: Drywall Repair and Texturing
Accidents happen. On Day 7, learn how to fix a “doorknob hole” in the drywall using a California patch or a mesh bridge. Practice matching wall textures (orange peel, knockdown, or smooth) so that your repairs are invisible to the naked eye.
Phase 3: The Mechanics – Plumbing and Electrical (Days 8–10)
Day 8: Basic Plumbing and Faucet Installation
Plumbing strikes fear into many, but basic fixture replacement is straightforward. Learn how to replace a bathroom faucet and a kitchen sprayer. Understand the use of Teflon tape and plumber’s putty to ensure leak-free seals.
Day 9: The Toilet and Drain Deep Dive
Every homeowner should know how to replace a toilet’s internal flapper, fill valve, and wax ring. Additionally, master the use of a zip-strip and a plunger to clear common clogs without calling a professional.
Day 10: Simple Electrical Upgrades
Safety is paramount here—always turn off the breaker. Learn how to swap out an outdated light fixture for a modern pendant or a ceiling fan. Practice replacing standard outlets with USB-integrated outlets or GFCI outlets for added safety in wet areas.
Phase 4: Flooring and Carpentry (Days 11–14)
Day 11: Introduction to Flooring Types
Research the differences between LVP (Luxury Vinyl Plank), engineered hardwood, and laminate. Learn about underlayment and why “acclimation” of materials to your home’s humidity is a crucial, often skipped, step.
Day 12: The “Click-and-Lock” Installation
LVP is the friendliest DIY flooring. Spend today practicing the staggering of planks and using a tapping block. Mastering the perimeter expansion gap will ensure your floor doesn’t buckle during seasonal changes.
Day 13: Baseboards and Trim
Trim hides a multitude of sins. Learn how to use a miter saw to cut 45-degree angles for corners. Mastering the “cope joint” for inside corners is an advanced skill that will make your trim work look professional.
Day 14: Cabinet Hardware and Refacing
You don’t need a new kitchen to have a “new” kitchen. Learn how to install a hardware jig to ensure all your cabinet pulls are perfectly aligned. This small detail provides a massive aesthetic upgrade.
Phase 5: Curb Appeal and Final Touches (Days 15–17)
Day 15: Exterior Refresh and Power Washing
Home improvement isn’t just internal. Master the use of a pressure washer to clean driveways, siding, and decks. Learn which nozzle tips are safe for wood versus concrete to avoid damaging your property.
Day 16: Basic Landscaping and Lighting
Learn the “thriller, filler, and spiller” method for container gardening and install low-voltage solar lighting along your walkway. Improving your home’s “first impression” adds immediate equity.
Day 17: The Master Walkthrough and Maintenance Schedule
On your final day, perform a “punch list” walkthrough of your home. Identify any lingering issues. Finally, create a seasonal maintenance calendar (changing HVAC filters, cleaning gutters, checking smoke detectors). True mastery is not just about fixing; it’s about preventing.
Conclusion: The DIY Mindset
Mastering home improvement in 17 days isn’t about becoming a licensed contractor; it’s about removing the “fear of the unknown.” By systematically tackling tools, surfaces, mechanics, and finishes, you have built a toolkit of skills that will serve you for decades.
The secret to continued success is to start small, stay patient, and never stop learning. Your home is your greatest asset—treat it with the respect it deserves by being a knowledgeable, hands-on owner. Now that you have the roadmap, it’s time to pick up the drill and start Day 1.
Summary Checklist for Your 17-Day Journey:
- Days 1-3: Safety, measurement, and home anatomy.
- Days 4-7: Prep, painting, and drywall repair.
- Days 8-10: Faucets, toilets, and light fixtures.
- Days 11-14: Flooring, trim, and cabinet hardware.
- Days 15-17: Exterior cleaning, landscaping, and maintenance.