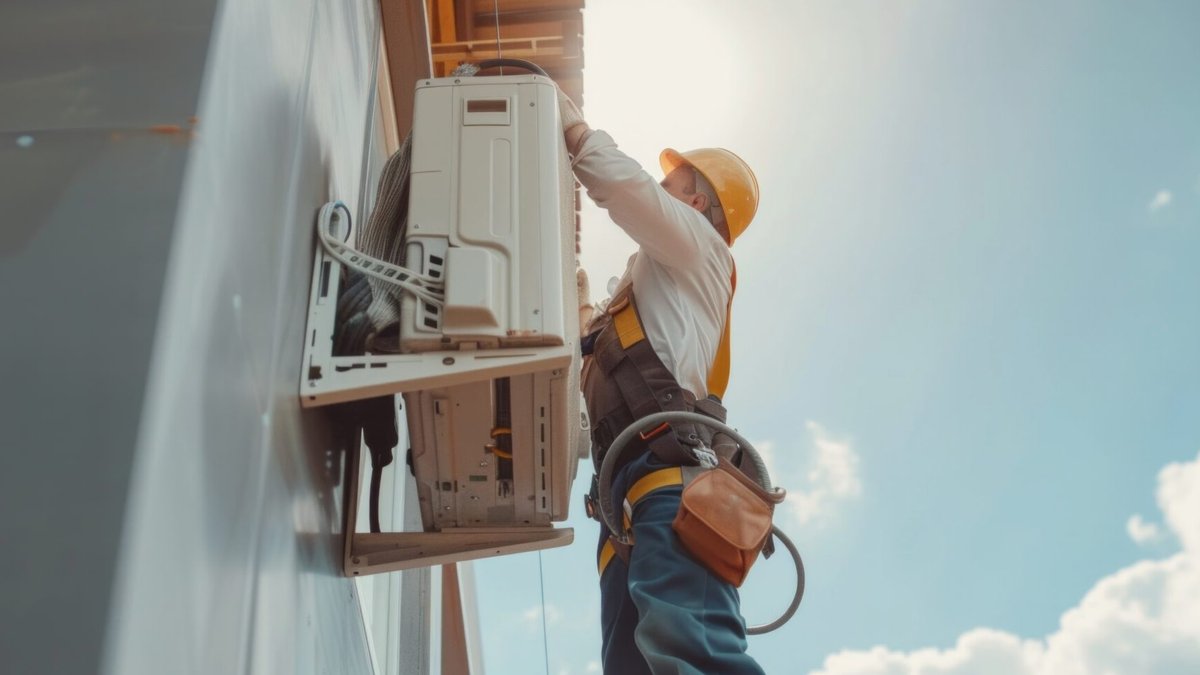
When an air conditioner stops cooling, a faulty capacitor is often to blame, and homeowners can start diagnosing the problem by learning how to check an AC capacitor safely.
Recognizing a Bad Capacitor
Typical signs include the unit refusing to start, blowing warm air, or making loud clicking or humming noises. A capacitor that can’t deliver enough power may cause the fan motor to struggle, leading to random shut‑offs or a burnt smell near the condenser.
Visual cues such as a swollen, leaking, or burnt component also point to failure.
Before assuming a capacitor issue, verify that the breaker hasn’t tripped and that the thermostat is set correctly. If those basics check out, the next step is to inspect the capacitor itself.
Tools and Safety Precautions
To check an AC capacitor you’ll need a multimeter that can measure capacitance, a fully insulated screwdriver, rubber electrical gloves, and some tape for labeling wires. Because capacitors retain charge for weeks, the power must be turned off at both the thermostat and the circuit breaker. An outdoor service disconnect box, if present, should also be switched off.
After the power is off, remove the access panel on the outdoor condenser unit. The capacitor sits near the compressor and fan motor, looking like a metal cylinder about the size of a soda can.
Related: Why Homebuyers Value Well-Connected Residential Communities
If the capacitor appears bulged or leaky, do not touch it; it’s a clear sign of a fault that should be handled by a professional.
Discharging and Testing the Capacitor
First, discharge any stored energy. Wearing gloves, hold the insulated screwdriver’s handle and bridge the “C” and “FAN” terminals, then repeat with “C” and “HERM.” A small spark may appear, but the charge should release instantly.
Next, photograph the wiring layout and label the wires with tape before removing the capacitor from its bracket. Set the multimeter to the capacitance setting (µF or MFD) and connect the probes to the appropriate terminals.
While the test is straightforward, the process carries a risk of electric shock and potential damage to other components if done incorrectly. Homeowners without electrical experience should consider calling a licensed HVAC technician.
Safety first.
In practice, the ability to test a capacitor can save time and money. Detecting a weak capacitor early prevents the motor from overworking, which can lower energy bills and avoid more costly repairs later.
Related: Boulder Home Offers Sweeping Mountain Views
Replacement Considerations
Professional replacement averages around $300, according to industry reports.
While a homeowner could swap the part themselves, experts warn that improper installation may void warranties, cause burnout of the contactor or control board, or expose the installer to shock.
“The capacitor is a very common problem in air conditioners,” said Tim Alagushov, co‑owner and chief operating officer of IRBIS Air, Plumbing & Electrical in San Jose, California. “In the summer season, at least 30% of the units we service have a capacitor issue.”
When to Call a Professional
If the capacitor is visibly damaged, if you lack the required tools, or if you feel uncertain at any step, it’s safest to hire a qualified technician. An HVAC professional can confirm the diagnosis, replace the part, and ensure the system is re‑energized correctly.
Moreover, many warranties require professional service for coverage to remain valid.
Remember that a malfunctioning capacitor not only affects comfort but can also increase electricity consumption. Prompt testing and, if needed, replacement keep the system running efficiently throughout the summer months.
