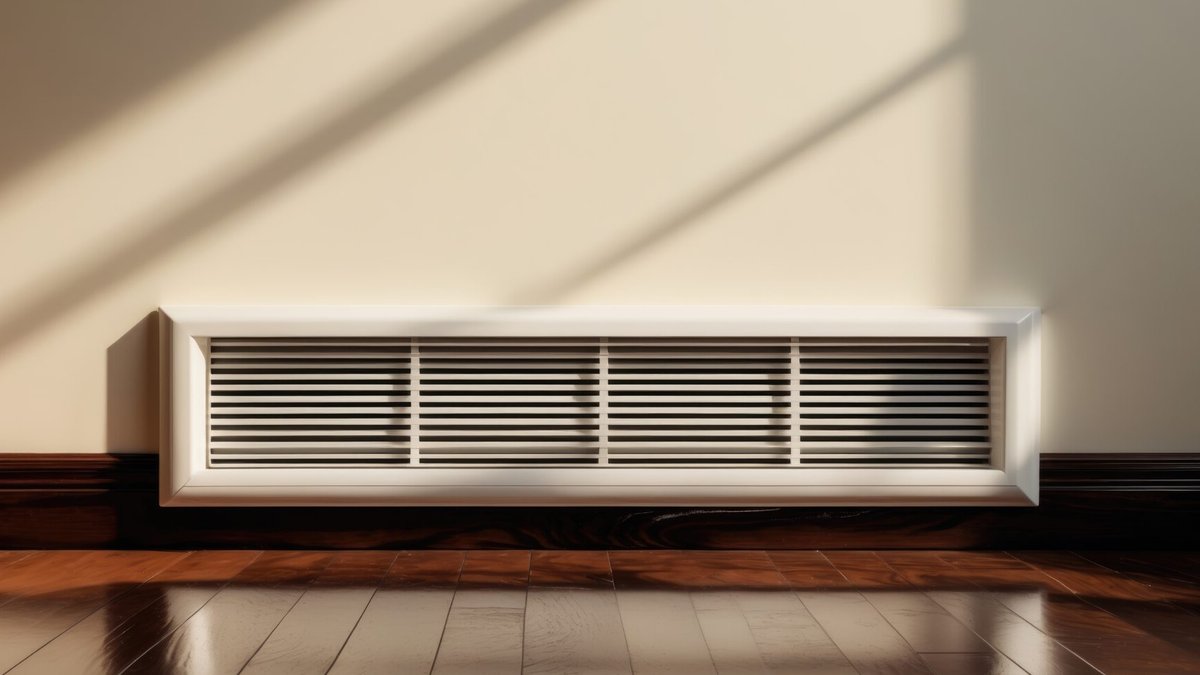
Homeowners who notice rust, yellowing, or dents on their baseboard heating covers can improve safety and energy use by replacing the covers, a task that typically costs between $20 and $50 per linear foot and can be done without professional help.
When Replacement Is Needed
Visible damage such as holes, corrosion, or warped edges often signals that a cover is no longer protecting the heating element effectively. A compromised cover can let heat escape, raising utility bills, and it may expose sharp metal that poses a hazard to children and pets. Even aesthetic concerns, like unsightly yellowing from age or smoke, can motivate a homeowner to upgrade the look of a room.
Most baseboard heaters are either electric or hydronic (hot‑water) systems. While both types benefit from a well‑fitting cover, hydronic units generally allow easier DIY swaps because the cover is primarily decorative and does not involve electrical connections.
Tools, Materials, and Preparation
To start, gather a utility knife or fine‑tooth hacksaw, a measuring tape, heavy gloves, safety glasses, and a protective floor covering. If you plan to paint the new cover, include a suitable paint and a brush. Metal covers are often preferred for durability and better thermal conductivity, though wood or plastic options exist.
Related: Removing a tree stump step by step
Before any cutting, turn off the heater and let it cool completely. This precaution reduces the risk of burns and eliminates the chance of accidentally energizing the unit during work.
Measure the length of the existing metal enclosure attached to the wall. Double‑check that the new cover matches this length, allowing for a slight overlap if the product is designed to snap into place.
Step‑by‑Step Installation
First, remove the old end caps and set them aside. Pull the old cover away from the heater, taking care not to damage the underlying pipe or wiring. Clean any dust or debris from the area, and if you see caulking holding the back plate to the wall, scrape it off so the new cover can sit flush.
Next, mark the cut line on the new cover with a pencil, then trim it to the measured length using the chosen cutting tool. After trimming, position the cover against the heater to confirm a proper fit. If there is a gap, adjust the cut or reposition the cover before proceeding.
Hook the bottom edge of the front cover under the existing bracket or lower flange, then lift it slightly while pushing the top toward the wall. The back tab should snap into place, securing the cover. Reattach the end caps, pressing them until you hear a soft click that indicates they are locked.
Related: Hillside Home Blends Seamlessly Into Boulder Landscape
Finally, turn the heater back on and watch for consistent airflow and even heating.
Observe the heat flow.
If the cover is paintable, switch the heater off again, apply the desired finish, and allow it to dry before using the system.
From a practical standpoint, the decision to replace a cover often hinges on balancing aesthetics with function. A metal cover, for instance, not only resists corrosion but also conducts heat efficiently, which can marginally reduce the heater’s runtime. Homeowners should verify that any chosen design maintains adequate airflow to avoid overheating.
Related: Ferguson boosts workforce with metal training program
Cost Considerations and Options
Beyond the per‑foot price, additional expenses may include tools you don’t already own, such as a hacksaw or protective gloves. Labor costs are essentially zero for DIY installers, though professional removal of an old HVAC unit can range from $5,540 to $10,980 if a full system replacement is needed, according to industry estimates.
Metal covers remain the most energy‑efficient choice, but wood or plastic options can work where design preferences dominate. Galvanized steel, in particular, offers resistance to rust and helps maintain the heater’s efficiency over time.
While the upfront cost of a new cover is modest, the longer‑term savings from improved heat distribution and reduced safety risks can be significant, especially in homes with older heating systems.
Overall, replacing a baseboard heating cover is a straightforward project that most homeowners can complete in a few hours, provided they follow safety protocols and verify measurements before cutting.
