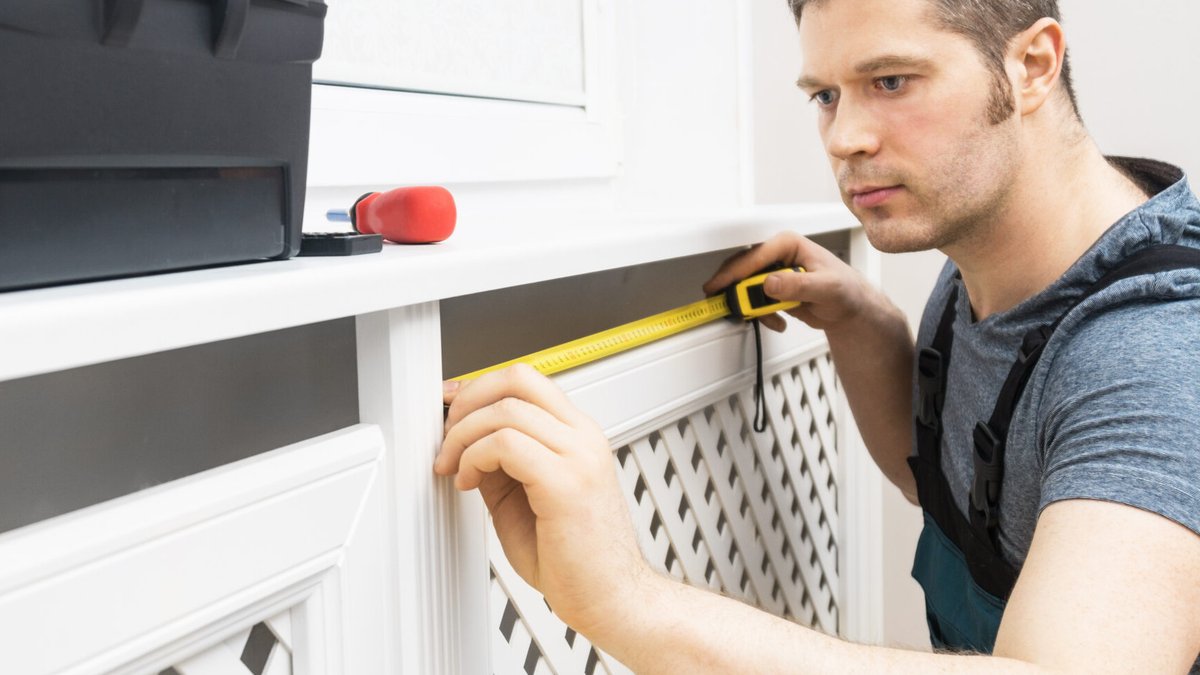
Homeowners seeking to hide an unsightly radiator often wonder whether a DIY cover can improve a room’s look without sacrificing heat output.
Measure, Plan, and Choose Materials
First, take three measurements: height from the floor to the top of the radiator, width including any valves, and depth from the wall to the front of the unit. Accurate dimensions ensure a snug fit and maintain proper airflow.
Most beginners opt for medium‑density fiberboard (MDF) because it is inexpensive and tolerates high temperatures better than solid wood. Metal is another option, especially for those prioritizing heat conductivity, though it can become hot to the touch. After selecting the material, visit a local home‑improvement store to purchase pre‑primed MDF sheets, screws, wood glue, and optional decorative sheet metal. Ask the retailer to cut the panels to the measured lengths, or be prepared to cut them yourself with a circular saw.
Related: Update Your Baseboard Heating with Ease
Assemble the Frame and Add a Shelf
Lay the cut pieces on a flat surface and pencil where the edges meet. Glue the boards together, then reinforce the joints with screws or dowels, depending on confidence with tools. Attach the side panels to the front frame, then position the top panel. If the cover is intended to double as a bench or shelf, a solid top adds strength, but a slatted or perforated surface helps keep heat from building up.
Once the frame is stable, sand any rough edges, apply a fresh coat of primer, and paint or stain to match the surrounding décor. Allow sufficient drying time before proceeding to the next step.
For a decorative touch, cut sheet metal with tin snips and secure it inside the frame using staples or screws. Thick leather gloves protect the hands while trimming metal, and the metal adds a modern look while still allowing heat to escape.
When the cover is fully assembled, install it over the radiator, ensuring that gaps or vents remain at the bottom and top. These openings prevent the unit from overheating and maintain efficient circulation throughout the room.
Related: Removing a tree stump step by step
Safety and Airflow Tips
Radiators can reach high temperatures, so a cover should never fully enclose the unit. Include ventilation slots on the sides and top, or use a shallow design that leaves the lower portion exposed.
Safety comes first.
After installation, double‑check that the radiator heats the room effectively. If the space feels colder than before, verify that vents are not blocked and that the top panel is not solidly sealed. Adjustments such as adding more slats or enlarging existing gaps can restore performance.
