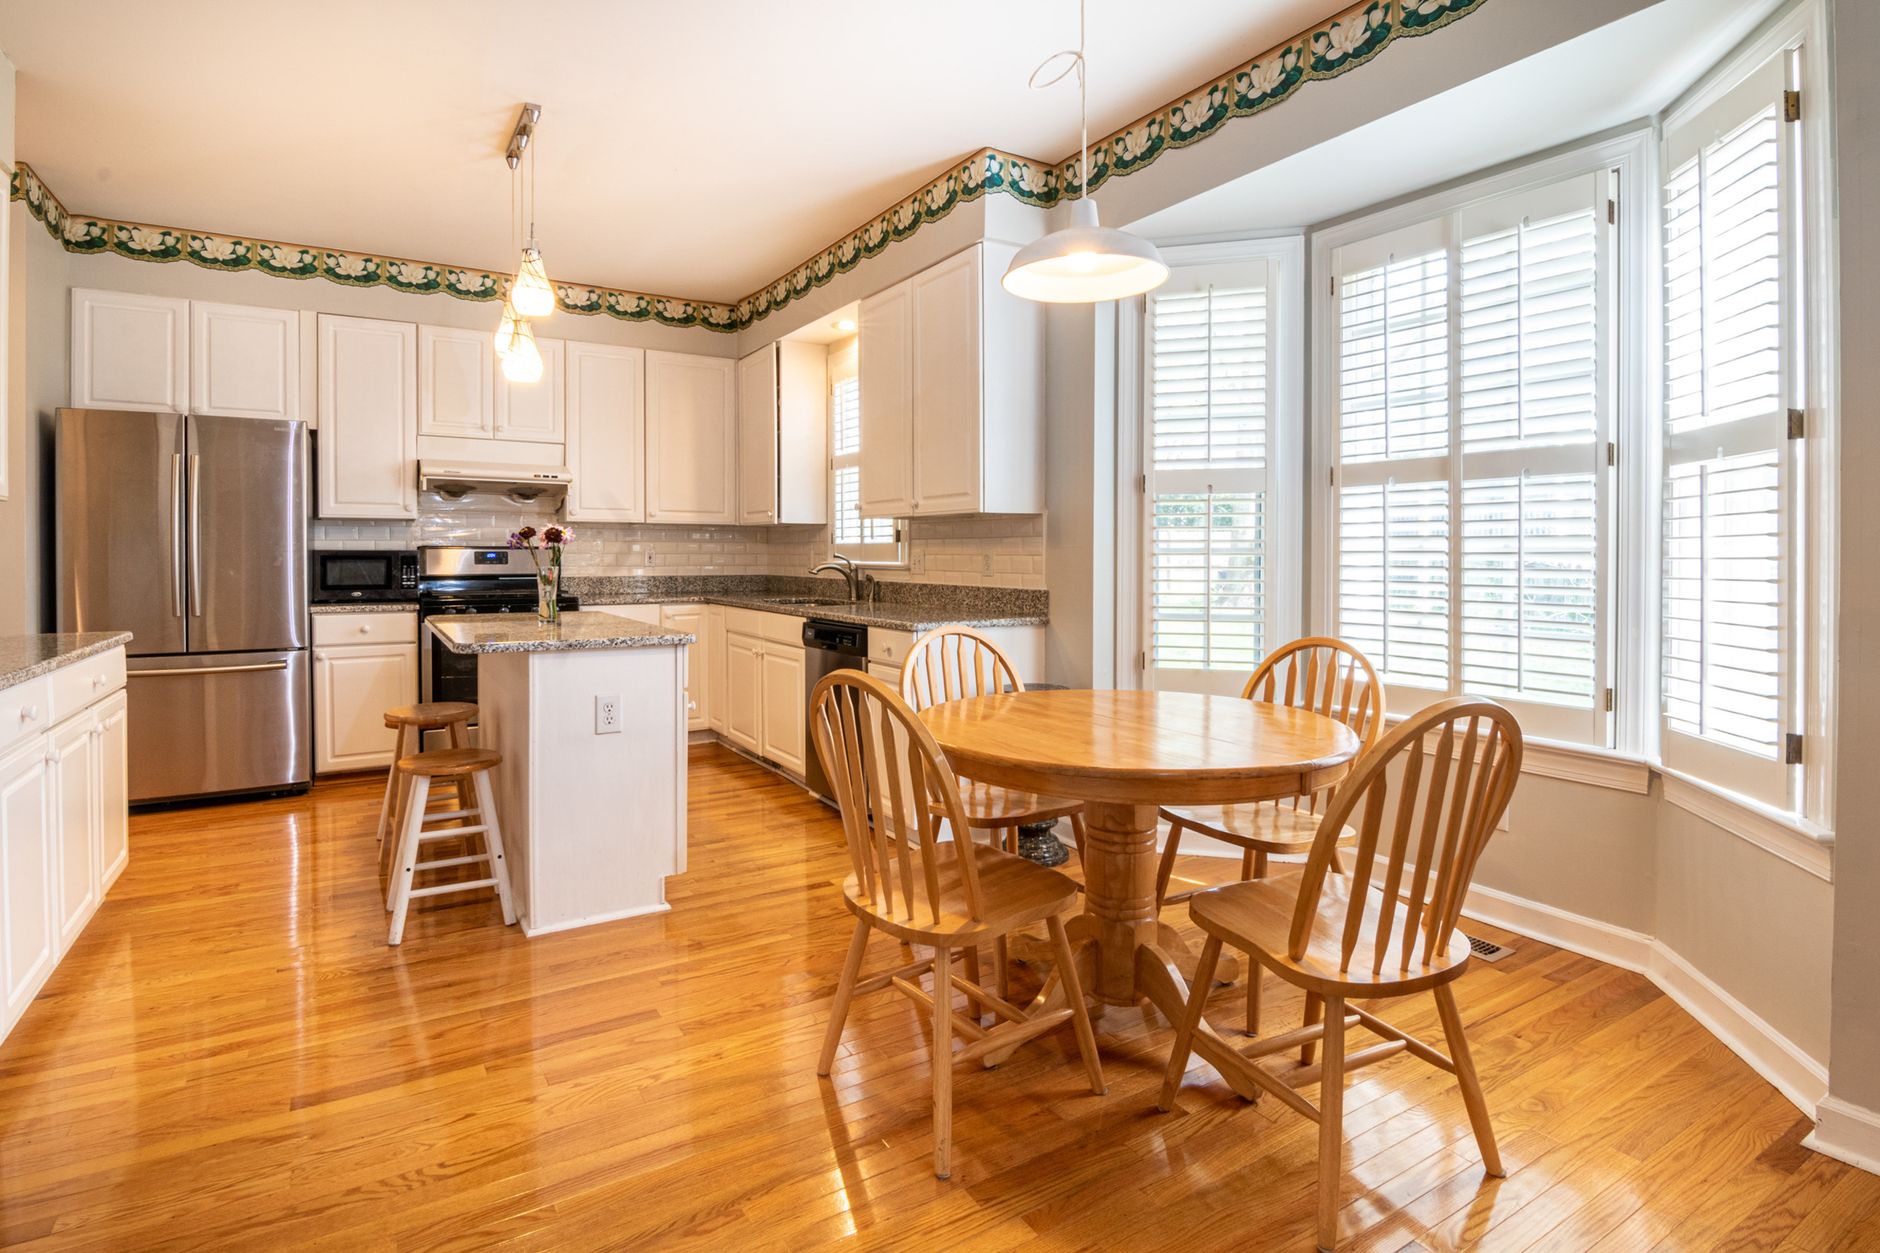
When a bay window stretches out from a façade, it reshapes the way light, space, and view interact inside a home. Homeowners often grapple with how big that protruding “bump‑out” should be, balancing aesthetic ambition against structural realities and budget constraints. The right size can turn a modest living‑room corner into a sun‑lit nook, while an ill‑chosen dimension may strain framing, increase heating costs, or clash with the building’s architectural language.
Choosing wisely begins with a clear picture of the window’s three‑panel anatomy, the angles that define its alcove, and the depth that determines usable interior space. From the classic Victorian parlors that first featured bay windows as status symbols to today’s energy‑efficient glass panels, the evolution of this element offers clues about what works best in different eras and building styles. The following sections walk you through that history and then break down the technical language you’ll need to measure, compare, and decide.
On This Page
- The Evolution of Bay Windows: From Victorian Parlors to Modern Homes
- Understanding Bay Window Anatomy: Panels, Angles, and Depth Explained
- Sizing Basics: How Width, Height, and Depth Affect Light and Space
- Cost Breakdown: What Influences Bay Window Prices and Budget Planning
- Bay vs. Bow vs. Oriel: Quick Comparison Chart
- Matching Size to Your Home’s Architectural Style
- DIY Installation vs. Hiring a Professional: What to Consider
- Future Trends: Smart Glass, Energy Efficiency, and Custom Bay Designs
The Evolution of Bay Windows: From Victorian Parlors to Modern Homes
Late‑19th‑century architects introduced bay windows as ornamental projections on wealthy Victorian homes, where they signaled prosperity and provided a stage for elaborate interior décor. By the mid‑20th‑century, suburban builders reinterpreted the feature as a practical source of daylight, integrating it into modest single‑family houses to boost living‑room illumination without sacrificing wall space. In the 21st‑century, designers favor sleek aluminum or wood‑clad frames paired with low‑emissivity glass, delivering the classic protruding form while meeting today’s energy‑efficiency standards. This chronological progression reflects shifting priorities—from display to function to sustainability—while preserving the fundamental appeal of a three‑panel, outward‑facing window.
- 1885 – Early Victorian mansions showcase bay windows as decorative focal points, often with stained‑glass accents.
- 1950 – Post‑war suburban homes adopt modest bay extensions to increase natural light in compact floor plans.
- 2005 – Advances in insulated glazing allow manufacturers to market “energy‑saving” bays that meet strict building codes.
- 2022 – Minimalist designs emphasize thin frames and integrated smart glass, merging historic form with modern technology.
Understanding Bay Window Anatomy: Panels, Angles, and Depth Explained
Three‑panel configurations dominate the market, with a central window flanked by two angled side windows that together form a shallow alcove. The side panels are typically set at 30°, 45°, or 90° relative to the central pane; each angle creates a distinct interior footprint—30° yields a gentle curve, 45° offers a balanced triangular space, and 90° produces a sharp, box‑like nook. Depth, measured from the exterior wall to the interior face, usually ranges from 1 to 2 feet, though deeper projections up to 3 feet appear in custom installations that aim for built‑in seating or expansive views.
Sizing Basics: How Width, Height, and Depth Affect Light and Space
When planning a bay window, the three primary dimensions—width, height, and depth—work together to shape the room’s ambience. Standard widths span 3 ft to 10 ft, allowing homeowners to match the protrusion to the scale of the wall. A narrower 3‑ft bay can sit comfortably above a kitchen sink, while a 10‑ft span often serves as a focal point in a living‑room wall, creating a dramatic visual break.
Related: Fixing Leaky Windows Made Easy at Home
Height typically ranges from 3 ft to 6 ft. Taller windows pull daylight from higher angles, flooding the interior with vertical light that accentuates ceiling height and reduces the need for artificial fixtures. In a room with low ceilings, a 6‑ft window can make the space feel more open, whereas a 3‑ft height may be appropriate for a modest bedroom where privacy is a priority.
Depth, measured from the exterior wall to the window’s outer edge, usually falls between 1 ft and 2 ft. A deeper bay, approaching 2 ft, creates a usable alcove that can accommodate built‑in seating, a small bookshelf, or a plant display. This extra floor area becomes a functional extension of the room, turning what is often a decorative feature into a practical nook.
Proportional balance is essential; an oversized bay in a compact room can dominate the interior, making the space feel cramped. Conversely, a modest window in a grand hall may be lost against the backdrop. By aligning the bay’s dimensions with the room’s existing proportions, homeowners ensure that natural light is amplified without overwhelming the architectural rhythm.
Cost Breakdown: What Influences Bay Window Prices and Budget Planning
Average bay window prices fall between $750 and $4,000, but that range masks a variety of factors that can shift the final bill dramatically. Material choice is the first lever; vinyl units sit at the low end of the spectrum, while wood or fiber‑capped frames, especially those with custom finishes, push costs upward. The size of the window directly correlates with price: larger widths and deeper protrusions require more glass, framing, and structural support, each adding incremental expense.
Custom dimensions are a common source of budget expansion. While many manufacturers offer stock three‑panel configurations, typically a 4‑ft center window flanked by 3‑ft side panes, tailoring the width or depth to fit an irregular wall often means a bespoke build. Premium glass options, such as low‑emissivity (Low‑E) coatings or insulated glazing, also increase material costs but can deliver long‑term energy savings.
Labor and structural modifications represent a significant portion of the overall outlay. Installation crews must cut into the existing wall, reinforce the framing, and sometimes reroute HVAC or electrical lines. These adjustments can add a noticeable amount to the project cost. In historic homes, additional preservation requirements can further raise labor expenses.
Homeowners should map out a budget that separates the window unit from ancillary costs. For example, allocating $2,500 for a mid‑range wood bay window leaves room for the anticipated labor surcharge, plus a contingency for unforeseen structural work. Consulting a reputable installer helps ensure that estimates are realistic and that the installation complies with local building codes.
Related: Attic air conditioner prices vary by model
By breaking down each component, material, size, glass type, and labor, homeowners can prioritize features that align with both aesthetic goals and financial constraints, preventing surprise overruns once the project is underway.
Bay vs. Bow vs. Oriel: Quick Comparison Chart
When deciding which protruding window style suits your project, the three most common options differ primarily in geometry, projection depth, and ideal placement. The table below distills those distinctions into concrete figures, making it easier to match a design to your home’s envelope.
| Feature | Bay | Bow | Oriel |
|---|---|---|---|
| Shape (panel count & angle) | Three panels, sharp angles (30‑45‑90°) | Four‑plus panels, gentle curve | Single or double panels, projecting from upper story |
| Typical depth (ft) | 1 – 2 | 1.5 – 2.5 | 0.5 – 1.5 |
| Best fit (architectural context) | Classic homes, Victorian‑era façades | Modern or contemporary façades | Upper‑level spaces in historic or Victorian‑era houses |
Matching Size to Your Home’s Architectural Style
Measuring existing openings is the first step toward preserving the visual rhythm of a façade. A typical bay window spans 3 – 10 ft in width and 3 – 6 ft in height; depth usually falls between 1 – 2 ft, though deeper projections can reach 2.5 ft when structural support allows. Start by recording the width of each adjacent window and door, then calculate the average spacing. This average guides the maximum width you can allocate without disrupting the pattern of mullions and trim.
Traditional colonial or Craftsman homes often feature larger, deeper bays that create a pronounced alcove, providing space for built‑in seating or a small bookshelf. In contrast, contemporary designs favor slimmer profiles, often 1 ft deep, to maintain a sleek, planar aesthetic while still admitting ample daylight. When the intended function leans toward interior seating, aim for a depth of at least 1.5 ft; for pure light‑maximizing purposes, a shallower 1 ft projection may suffice.
Structural considerations cannot be overlooked. Load‑bearing walls require reinforced framing, especially for projections beyond 2 ft. Consulting a licensed architect or experienced builder ensures that the chosen dimensions align with local building codes and the home’s structural capacity. Professional input also helps determine whether a custom‑fabricated unit is necessary or if a pre‑built three‑panel system, typically 3‑ft side windows and a 4‑ft center, fits the opening without extensive modification.
DIY Installation vs. Hiring a Professional: What to Consider
Simple, pre‑built 3‑panel units can be installed by experienced DIYers with proper tools, provided the existing wall is non‑load‑bearing and the roofline is straightforward. These kits usually include pre‑cut framing members, flashing, and a set of windows that fit together at 30‑ or 45‑degree angles, making the on‑site assembly comparable to a large furniture project. A cordless drill, level, and a basic understanding of framing joints are typically sufficient.
Related: How to balance humidity at home by season
Structural framing, roofing penetrations, and code compliance usually require a licensed contractor. When the bay window will replace or intersect a load‑bearing wall, the framing must be reinforced with headers sized to the span and the weight of the new glass. Local building codes often dictate specific flashings, weather‑resistive barriers, and egress requirements that only a professional familiar with permitting can handle.
Safety hazards such as working at height, handling heavy glass panels, and ensuring a watertight seal make professional assessment essential. Laura Mitchell, licensed contractor, notes that an incorrectly installed bay can lead to water intrusion, structural movement, or even collapse under wind loads. In many jurisdictions, a contractor’s license is required to obtain the necessary permits, and the inspection process will verify that the installation meets structural and energy‑code standards.
Future Trends: Smart Glass, Energy Efficiency, and Custom Bay Designs
Electrochromic glass offers on‑demand tinting for glare control and privacy, allowing homeowners to shift from clear to darkened panels with a wall switch or smartphone app. This technology reduces reliance on blinds and can lower cooling loads in sun‑exposed rooms, aligning with stricter energy codes that demand higher R‑values and low‑E coatings. The latest low‑E coatings reflect infrared heat while admitting visible light, helping bay windows meet the performance thresholds set by the Department of Energy.
Higher R‑values are now achievable through insulated glazing units that combine multiple panes, argon or krypton gas fills, and advanced spacer technologies. These improvements enable deeper bays, up to two feet or more, without sacrificing thermal performance, which is especially valuable in colder climates where heat loss through protruding windows used to be a concern.
Manufacturers are experimenting with 3‑D‑printed frames and modular components that allow highly customized bay shapes beyond the traditional angles. By printing frame sections in polymer composites or lightweight aluminum alloys, designers can create curves, asymmetric angles, or even integrate built‑in seating that follows the contour of the bump‑out. Modular kits can be combined on site to fit irregular wall dimensions, reducing waste and shortening lead times.
Custom bay designs also incorporate smart home integration, such as sensors that trigger electrochromic tinting when sunlight exceeds a preset threshold, or ventilation fans that activate automatically to prevent condensation. As these technologies mature, the cost gap between standard pre‑built units and fully bespoke systems is expected to narrow, giving more homeowners the option to tailor both aesthetics and performance to their specific needs.
