Restoring old windows can preserve a home’s character while reducing heating and cooling costs, according to the Department of Energy, which says windows account for up to 30% of a house’s energy use.
When Restoration Makes Sense
Homeowners should consider restoration when the frames are built from high‑quality wood, the damage is limited, and the cost of repair is lower than replacing the unit. Historic properties often fall into this category, as maintaining architectural integrity is a priority for many owners. Jake Zahnow, who runs a window‑repair shop in Wixom, Michigan, notes that “restoring old windows can make sense if you’re dealing with historic homes where maintaining architectural integrity is a priority.”
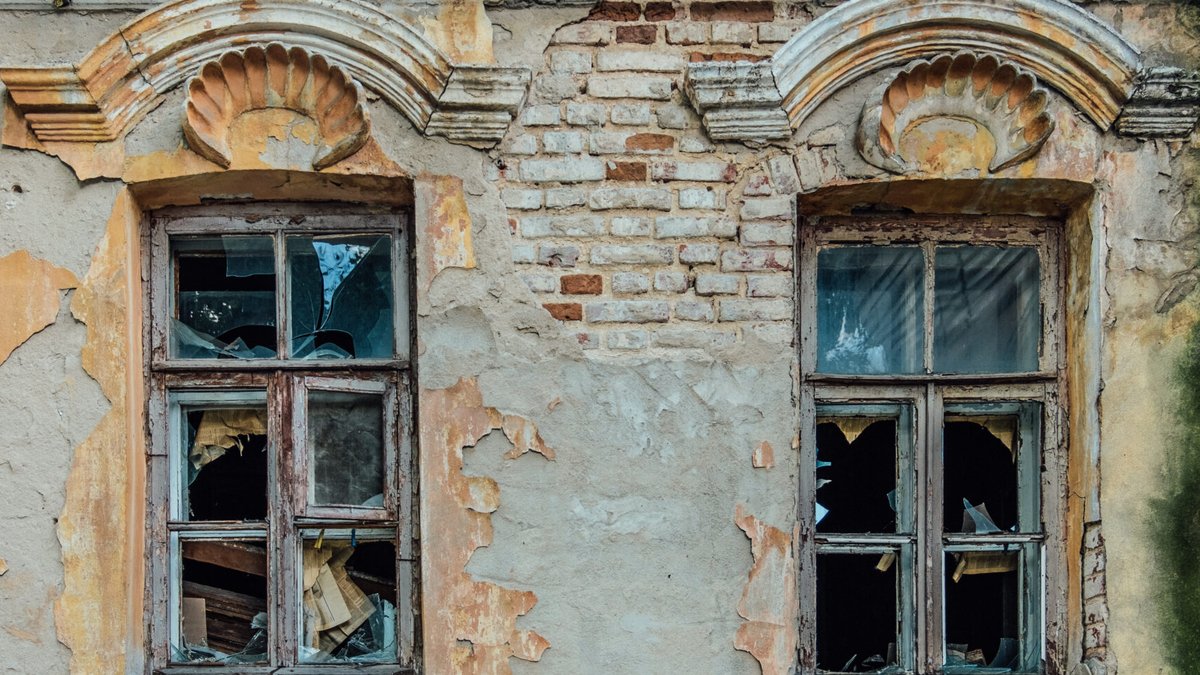
Minor water damage, a few cracks in the glass, or worn weather‑stripping are typical signs that a window can be salvaged. In contrast, severe rot, warped frames, or broken hardware usually signal that replacement is the safer route. He adds, “Rotting or warped wood, cracked or foggy glass, and nonfunctioning hardware are all red flags.”
Environmental considerations also favor restoration; keeping windows out of landfills reduces waste. The decision often hinges on an inspection by an energy auditor or contractor, who can evaluate the extent of damage and estimate repair versus replacement costs.
Related: 10 Tips to Choose the Right Bay Window Size for Your Home
Step‑by‑Step Restoration Guide
The first step is a thorough inspection. Look for rot, cracks, and the condition of weather‑stripping, which is usually foam or felt. Open and close each sash to confirm smooth operation.
If the window sticks or won’t stay open, more extensive work may be needed.
Next, remove old paint, glazing, and hardware. Before sanding, test any existing paint for lead using a DIY kit or professional service. Only strip the components that require repair, such as broken glass or deteriorated hardware.
Repairing wood involves applying a wood epoxy to cracks or divots, letting it cure fully before sanding. For single‑pane windows that need new glass, a local glazier can cut the pane to the correct thickness. Install the glass by applying glazing putty around the sash, pressing the glass into place, and securing it with glazing points roughly every 10 inches. Finish by smoothing the putty with a knife or a wet finger.
Related: Window Safety Locks Guards and Childproof Tips
After the glass is set, replace any sash cords, weights, or pulleys. Sand the wood, then paint with a weather‑resistant exterior paint. Finally, seal gaps with caulk to eliminate drafts.
Improving efficiency after restoration is simple: install storm window inserts, replace worn weather‑stripping, apply insulating film, or add thermal curtains. These upgrades can offset the lower performance of older single‑pane glass without the expense of full replacement.
Preserving original windows contributes to a neighborhood’s historic fabric, which can enhance property values and community identity. This perspective highlights why some homeowners choose to invest in restoration even when a cheaper replacement exists.
Ultimately, the decision to restore or replace hinges on a careful assessment of damage, cost, and long‑term performance. Homeowners are encouraged to start by inspecting each window, testing for lead paint, and weighing the expense of repairs against the benefits of maintaining historic character. Zahnow concludes, “In most cases, I’d recommend homeowners consult with a professional, especially if the windows are historic or if performance is a top priority.”
